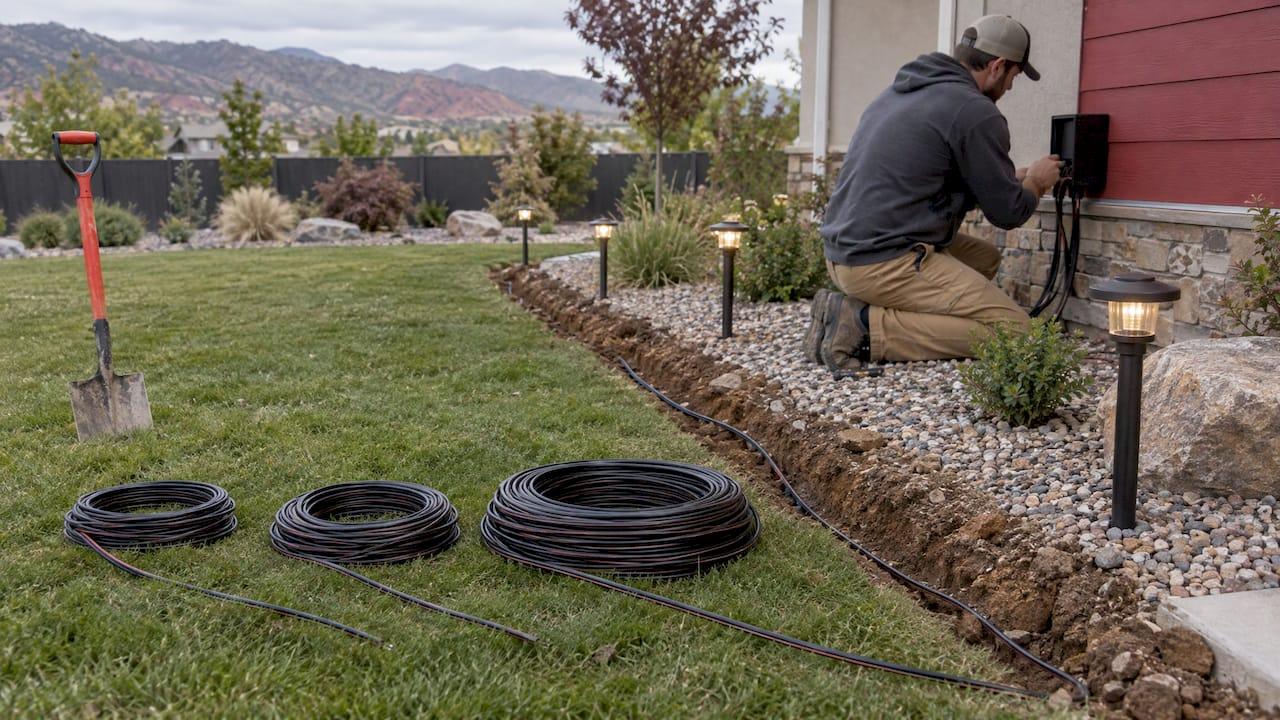
For most home yards, 12-gauge (12 AWG) two-conductor cable is the right starting point for low-voltage landscape lighting. Longer runs or heavier loads call for 10 or 8 gauge. The gauge is not a matter of taste. It comes from three numbers: the total wattage on the cable, the distance from the transformer to the last fixture, and how much voltage you can afford to lose along the way. Get them wrong and the last lights on the run look dim and yellow, and the fix means digging the trench again. We lay out cable in Utah yards, so below is the arithmetic we would do before any trench is opened.
TL;DR
- Wire gauge is a number that runs backward: 8 AWG is thicker than 10, 10 is thicker than 12, and thicker wire loses less voltage over distance.
- Use 12/2 cable as the default for typical home runs. Move to 10/2 or 8/2 when the run is long or the wattage on it is high.
- Voltage drop in volts = length in feet × load in watts × 2 ÷ the cable's constant (7,500 for 12 AWG, 11,920 for 10 AWG, 18,960 for 8 AWG).
- Size the transformer to the total load with headroom, and remember a 12V secondary tops out at 25 amps, which is 300 watts.
- Bury the cable at the required depth and keep the 120V connection to a licensed electrician.
Table of Contents
- What the numbers on the wire mean
- Why voltage drop decides the gauge
- So which gauge should you use?
- The "hub" layout: why we rarely run one long line
- Sizing the transformer
- Burying the cable
- Code and standards worth knowing
- A worked example
- Our view
- Lighting as part of a bigger project
- FAQ
- Sources
What the numbers on the wire mean
Landscape cable is labeled like "12/2." The first number is the American Wire Gauge (AWG), the size of each copper conductor. The second is the number of conductors inside the jacket, which is two for a standard low-voltage line: one out, one back.
AWG counts backward. A 16-gauge conductor is thin, 14 is thicker, 12 thicker again, then 10 and 8. A thicker conductor has less electrical resistance, so less of the transformer's voltage gets used up in the wire itself.
That loss matters because low-voltage systems run at 12 volts. At that voltage even a small loss is a big share of what the fixture receives. A 3-volt loss on a 120V household circuit is nothing. On a 12V landscape circuit it is a quarter of your power, and the lamps at the end of the line will show it.
Why voltage drop decides the gauge
A 12V system pushes ten times the current of a 120V system for the same wattage, and loss in the wire rises with current. That is why landscape wiring behaves so differently from the wiring inside your house.
The National Council of Landscape Contractors publishes a voltage drop worksheet for landscape lighting that uses a simple formula:
Voltage drop = length (ft) × load (watts or VA) × 2 ÷ constant
The constants are 7,500 for 12 AWG, 11,920 for 10 AWG and 18,960 for 8 AWG. In the worksheet's own example, a 100-foot run of 12 AWG carrying 44 VA drops 1.17 volts. The same document says that when the drop on a single run goes past 3 volts, you should increase the wire size or reduce the load on that run.

Length here is the one-way distance from the transformer to the last fixture on that run. The "× 2" accounts for the current traveling out and back.
What the formula gives you
Here is the drop, in volts, worked out from that formula for common situations:
| Run | Load | 12 AWG | 10 AWG | 8 AWG |
|---|---|---|---|---|
| 50 ft | 100 W | 1.33 V | 0.84 V | 0.53 V |
| 100 ft | 100 W | 2.67 V | 1.68 V | 1.05 V |
| 100 ft | 200 W | 5.33 V | 3.36 V | 2.11 V |
| 150 ft | 150 W | 6.00 V | 3.77 V | 2.37 V |
Read across a row and you see why gauge matters. A 100-foot run with 200 watts on it loses more than 5 volts in 12 AWG, which is nearly half of a 12V supply. The same run in 8 AWG loses about 2 volts. Anything over the worksheet's 3-volt line is a signal to go thicker or split the load.
How much drop is acceptable
Fixtures are designed to work inside a voltage window, not at one exact number. Many lighting designers aim to keep the voltage at the lamp near the 10.5 to 11.5 volt range, which means choosing the transformer tap and the cable together. You can raise the output with a higher tap on a multi-tap transformer, but that only helps if the cable is sized so the first fixtures on the run are not overdriven while the last ones still starve.
The safest design is the simplest one: keep each run short, keep the load on it moderate, and pick a cable thick enough that the drop is small to begin with.
So which gauge should you use?
12/2: the default for most yards
For a typical front yard or backyard with a modest number of LED fixtures and runs of a hundred feet or less, 12/2 is the workhorse. From the table, it holds a 100-watt run at 100 feet to under 3 volts of drop. LED fixtures draw far less than the older halogen lamps, so a home with ten or twelve path, spot and well lights often sits well under that load.
14/2 and 16/2: short, light runs
The thinner 14 and 16 gauge cables come in many boxed kits. They work on short runs with a few low-wattage fixtures, and the shorter and lighter the run, the better they perform. The trouble starts when a homeowner later adds lights or extends the run. Thin cable leaves no room to grow, and swapping it means re-trenching. If you expect to add a fixture or two next season, start thicker.
10/2: long runs and heavier loads
When a run reaches toward 150 feet, or you are feeding a cluster of larger fixtures such as a row of tree uplights, 10/2 keeps the drop in check. In the table, a 150-foot, 150-watt run drops 6 volts in 12 AWG but under 4 volts in 10 AWG.
8/2: trunk lines and big properties
On larger lots, such as acreage in southern Utah where the house, driveway entrance and back patio can be far apart, an 8/2 trunk line carries power out to the area where the lights are, and lighter cable fans out from there. The 8 AWG cable carries more current than the transformer is allowed to put on it, so the limit is the transformer, not the wire.

The "hub" layout: why we rarely run one long line
The best way to save wire gauge is to avoid putting everything on one long daisy chain. Two layouts keep voltage even:
- Multiple runs from the transformer. Each run gets its own pair of terminals, so every run carries a fraction of the load and the farthest fixture on each is closer.
- A heavy trunk to a hub. One thick cable runs to the middle of a lit area, and shorter runs branch out from it.
The point of either layout is to balance the load. Put roughly the same wattage on each run, and keep the fixtures on any one run within a modest distance of one another. A run with a long empty stretch before the first light and then a cluster of fixtures is a classic cause of uneven brightness.
We cover the symptoms and fixes of uneven brightness in our guide to preventing dim fixtures on low voltage landscape lighting.
Sizing the transformer
The transformer converts 120V house power to 12V. Size it from the total wattage of all the fixtures you plan to connect, not just the ones you are installing today.
- Add up the fixture wattage. Use the wattage printed on each fixture or lamp, and count the ones you may add later.
- Leave headroom. A transformer running at its limit all evening runs hot and leaves no room to expand. A common design practice is to keep the load at about 80% of the rated capacity. For a 200-watt load, that points to a transformer of at least 250 watts. Divide the load by 0.8 to get the minimum.
- Check the secondary limit. Low-voltage transformers listed to the UL 1838 standard are limited to 15 volts and 25 amps on the secondary side, according to the Association of Outdoor Lighting Professionals. At 12 volts, 25 amps is 300 watts. So a single 12V output stops at 300 watts regardless of how thick the cable is. Bigger systems use multiple transformers or multiple circuits.
- Match each run to a terminal. Divide the load so no single run carries more than the drop table allows for its length and gauge.
If your fixtures are LED, the wattage is small, but the same arithmetic applies. The headroom is what lets you add a few more lights next year without replacing the transformer.
Where the transformer goes
The AOLP guidelines also cover placement. An exterior transformer must be rated for wet locations and mounted at least 12 inches above grade, with protective conduit from the ground up to the wiring compartment. The power cord needs a drip loop, and the unit should not be installed in an enclosed, unventilated space. Following those rules protects the transformer and keeps the 120V side safe.
Burying the cable
Cable that is shallow gets cut by shovels, aerators and edgers. For landscape lighting circuits limited to 30 volts, the National Electrical Code's burial table calls for 6 inches of cover in most locations when using type UF or other identified cable, with allowances for less depth where the listed system's installation instructions say so.
In Utah, the ground itself matters too. Rocky, caliche-heavy or clay soil makes a clean, even trench harder to cut, and cable can end up pinched against rock or exposed after irrigation work. Where a yard will see grading first, it makes sense to place lighting cable after the earthwork is finished. Our landscape earthwork crew can set the grade before cable goes in.
Sunlight is the other enemy where cable comes above ground, at the transformer, at fixture connections and along fence lines. Jacket material that resists ultraviolet light lasts longer, and this overview of UV-resistant outdoor cable types explains what to look for in a jacket exposed to the sun.
Code and standards worth knowing
- UL 1838 is the product standard for low-voltage landscape lighting systems. An updated edition was issued in November 2025 and takes effect November 25, 2027, adding requirements for power units such as new capacitor and potting-compound requirements. For a homeowner this means newer transformers will carry the updated listing in the coming years.
- The 2026 National Electrical Code created a new Article 720 consolidating general rules for limited-energy systems such as Class 2 circuits, and recommends installers review it before roughing in low-voltage cable. Local jurisdictions adopt code editions on their own schedules, so permit and inspection rules come from your city or county.
The 12V side is low risk compared with house wiring, but the 120V feed to the transformer is not. A new outdoor outlet or a hardwired transformer connection should be done by a licensed electrician and inspected where your jurisdiction requires it.
A worked example
Say a homeowner in Cedar City wants lights along a front walkway, up two trees and across the front of the house.
- Twelve path lights at 4 watts each: 48 W
- Four tree uplights at 8 watts each: 32 W
- Six wall washes at 6 watts each: 36 W
The total is 116 watts. Divide by 0.8 and you need a transformer of at least 145 watts, so a 150-watt or larger unit is the minimum, and a 300-watt unit leaves room for expansion.
Split it into two runs of about 58 watts each. The longer run is 120 feet to the last fixture. Using the 12 AWG constant: 120 × 58 × 2 ÷ 7,500 = 1.86 volts of drop. That is comfortably under 3 volts, so 12/2 works. If the same 116 watts were on one 120-foot line, the drop would be 120 × 116 × 2 ÷ 7,500 = 3.71 volts, past the 3-volt line, and you would need 10/2 or a second run.
Splitting the load saved a gauge. That is the trade you are always making: wire gauge, run length and load.
Our view
Most dim-light callbacks we hear about trace back to the same thing: the cable was chosen to fit a kit box instead of the yard. The wire is the cheapest part of the system and the most expensive to redo.
Our approach is to design the lighting around the whole project. We know where the concrete, pavers, fence posts and irrigation lines are going, so the cable route and the lighting plan are settled before any trench opens. One in-house crew and one point of contact means the person who plans the lights is the one who sees the trench and the finished yard.
When in doubt, we go a gauge heavier and split loads across runs. That leaves room to add fixtures later without touching what is already buried.
Jake
Lighting as part of a bigger project
Landscape lighting is rarely a standalone job. It goes in alongside a new patio, a retaining wall, a fence or turf. If you plan the wire at the same time, it can run under pavers or through sleeves in a wall before the finish goes on, rather than being cut through them later.
A to Z Construction is a licensed general contractor in Cedar City that handles concrete, hardscape, fencing and landscaping with its own crew, from the estimate to completion. Our landscape lighting installation in Utah page explains what we install, and you can see the rest of our landscaping services if lighting is part of a larger yard.

If you want the wire, transformer and fixtures sized correctly the first time, request an estimate through A to Z Construction.
For help choosing fixtures once the wire is sorted, see our guides to landscape lighting types and color temperature.
FAQ
What gauge wire for landscape lighting is best?
For most home systems, 12/2 cable. It handles typical LED loads over runs of around 100 feet with a drop that stays under the 3-volt line used in landscape-lighting design. Choose 10/2 or 8/2 when the run is long or the load is high.
Can I use 14/2 wire for low voltage landscape lighting?
Yes, on short runs with a light load, where the voltage-drop math shows the last fixture still gets enough voltage. It leaves less room to add lights later. If you might expand the system, 12/2 is the safer choice.
What is the difference between 12/2 and 16/2 landscape wire?
Both have two conductors. The 12-gauge conductors are thicker, so they carry more current over longer distances with less voltage lost. The 16-gauge cable is thinner, cheaper and easier to bend, but suited only to short, low-wattage runs.
What size transformer do I need for landscape lighting?
Add up the wattage of every fixture, including ones you may add later, then divide by 0.8 to leave headroom. A 12V output is limited to 25 amps, or 300 watts, so larger systems use more than one transformer or circuit.
Sources
- NCLC Landscape Lighting Voltage Drop worksheet
- AOLP Landscape Lighting Guidelines
- IECI: Changes to the 2017 National Electrical Code
- Intertek Standards Update Notice: UL 1838 revision
- EC&M: Top 25 Changes to the 2026 National Electrical Code