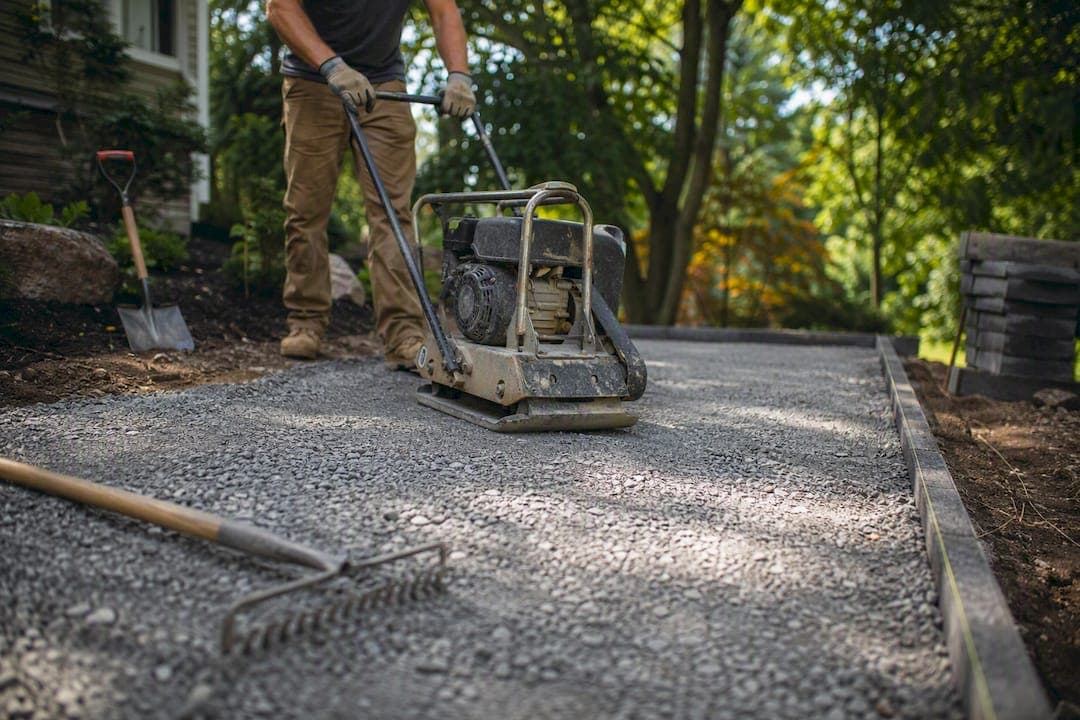
Use a plate compactor, not a hand tamper, for nearly every patio project. Build the base in loose lifts of 2 to 3 inches (4 inches max), and compact each one before adding the next. Aim for a compacted base between moderate to typical depths under a bedding layer, and go deeper if you're working with clay soil, poor drainage, or a climate with real freeze/thaw cycles.
- Best tool: plate compactor (reversible plate for most residential jobs)
- Lift thickness: 2 to 3 inches loose, 4 inches maximum
- Target compacted depth: moderate compacted depth for patios, plus a thin bedding sand layer
- Hand tamping: fine for small patches and tight edges, not a full patio
The CMHA sets 4 inches as the baseline minimum for patios in good conditions, with instructions to increase that depth substantially when drainage is poor or soil is heavy clay. That single number drives almost everything else in this guide.
Key Takeaways
Getting patio base compaction right comes down to using a plate compactor in 3 to 4 inch lifts to reach 4 to 6 inches of compacted depth under 1 inch of bedding sand.
| Point | Details |
|---|---|
| Use the right tool | A plate compactor handles granular base material far better than hand tamping for anything beyond small patches. |
| Compact in lifts | Build the base in 2 to 3 inch loose lifts, never exceeding 4 inches, compacting each before adding the next. |
| Hit the target depth | Plan for 4 to 6 inches of compacted crusher run under patios, plus 1 inch of uncompacted bedding sand. |
| Never compact the bedding layer | Bedding sand levels and cushions pavers; only the final seating pass compacts the surface after installation. |
| Call a pro for tough sites | A-to-zconstruction handles excavation, compaction, and paver installation together for soft subgrade or larger patios. |
Table of Contents
- Why Patio Base Compaction Determines Whether Your Project Lasts
- What Base Material and Depth Should You Use?
- Which Compactor Should You Rent for a Patio Base?
- How Do You Compact a Patio Base Step by Step?
- Do You Need to Compact the Bedding Sand Layer?
- How to Compact a Patio Base Without a Plate Compactor
- How Do You Know If Your Patio Base Is Compacted Enough?
- Field Tips from A-to-zconstruction on Getting Patio Base Compaction Right
- What the Data Actually Tells You to Prioritize
- Consider a Professional for Larger or Trickier Patio Projects
- Sources
- FAQ
Why Patio Base Compaction Determines Whether Your Project Lasts
The base is the structural layer of your patio. Pavers just sit on top and take the cosmetic beating from foot traffic. If the material underneath has air pockets, loose particles, or uneven density, it will settle unevenly the first wet winter it goes through, and your beautiful new patio starts looking like a wave pool.
Compaction forces angular aggregate particles to interlock, pushing out air and excess moisture. A properly compacted base resists deformation under load and promotes water drainage. An uncompacted one just waits to collapse.
Industry sources back this up plainly: most patio and paver failures trace back to base preparation, not the pavers themselves. The CMHA frames base depth and density as the determining factor in long-term paver performance, and that tracks with what shows up in the field.
- Voids in the base collapse under load, causing sinking and low spots
- Poor compaction lets water pool instead of drain, accelerating frost heave
- Clay-heavy or poorly draining soil needs more depth and more compaction effort than sandy, well-draining ground
- Skipping compaction to save a weekend usually costs a full patio teardown later
Your soil type sets the baseline. Sandy, well-drained soil is forgiving. Dense clay that holds water after every rain is not, and that's exactly the soil that punishes shortcuts on compaction.
What Base Material and Depth Should You Use?
Crusher run (also sold as DGA, dense grade aggregate, or road base) is the default material for most DIY patios. It's a mix of crushed stone and fine particles that lock together tightly under a compactor, forming a dense, rigid layer once you're done. It's affordable, widely available at landscape supply yards, and forgiving for a first-time DIYer.
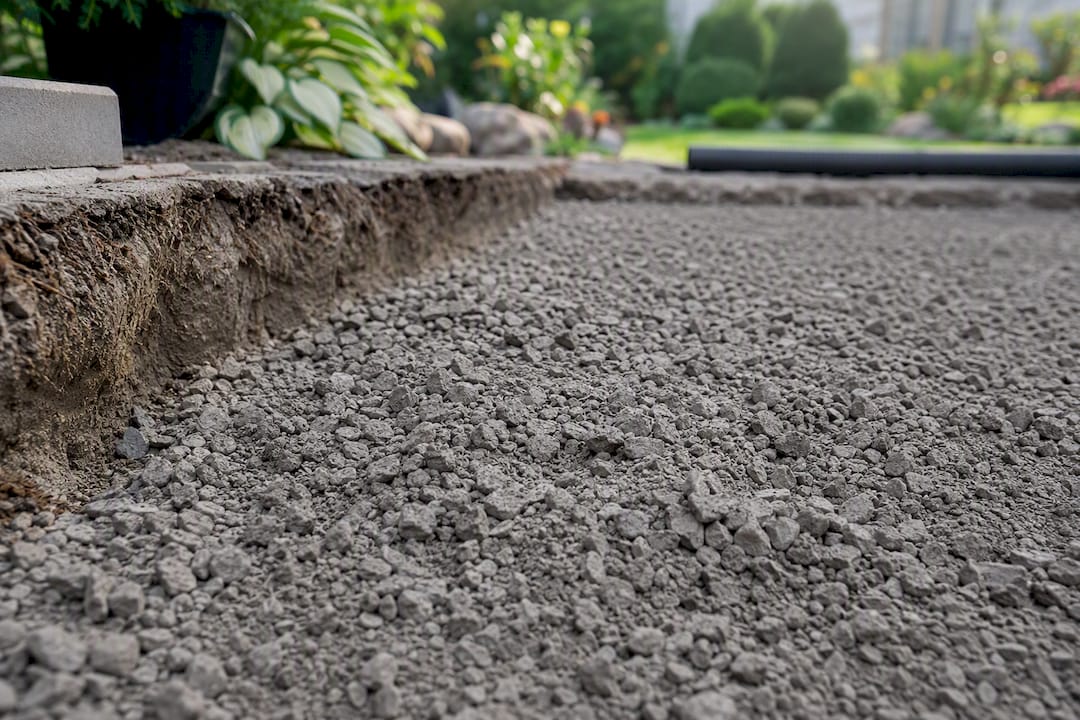
#57 stone is a different animal. It's a single-size, high-void aggregate with almost no fines, which makes it drain fast but compact loosely. It's the right call for a drainage layer under a base course in wet sites or freeze-prone regions, not as your primary compacted base.
Depth depends on what's going on top:
- Walkways: about 4 inches of compacted base
- Patios: 4 to 6 inches compacted, plus 1 inch of bedding sand
- Driveways: 8 to 12 inches compacted, since vehicle loads demand far more structural support
- Clay soil or poor drainage: add 2 to 4 inches beyond the standard depth for your application
That patio range lines up with what CrushedStoneCalculator recommends: 4 to 6 inches of compacted crusher run for most residential patios, pushing toward 8 to 12 inches on clay-heavy sites or areas that will see heavier use.
One detail that trips up first-timers: compacted volume is smaller than loose volume. Order more than the calculated loose material for your final compacted depth, accounting for compaction and edge waste. Confirm the gradation with your supplier, too. Not all "crusher run" is blended the same way from yard to yard.
Which Compactor Should You Rent for a Patio Base?
A plate compactor is the most commonly recommended tool for compacting granular base material in patio projects. It delivers rapid vibration and downward force that works particularly well on crushed stone and sand. Wider plates cover ground faster on bigger patios, while paver-specific plate compactors with rubber rollers exist specifically to reduce chipping risk when you're working near finished pavers or edges, according to Multiquip's product specs.
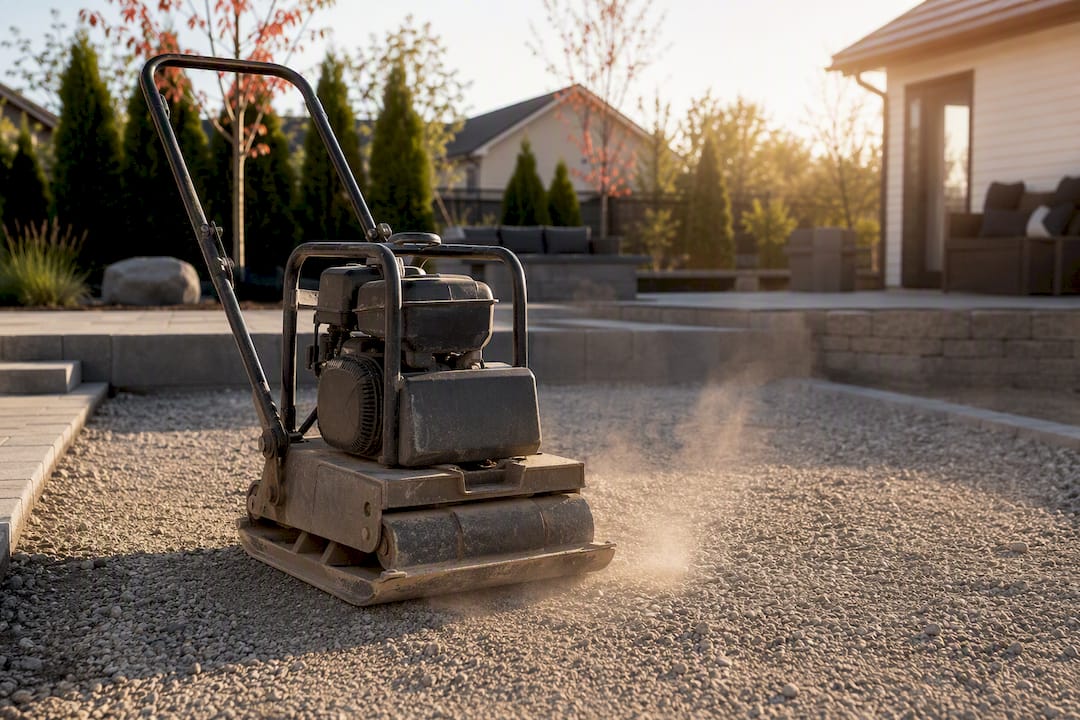
A jumping jack (rammer) is built for cohesive soils like clay, and for trenches where a flat plate can't reach. It's less effective on open granular base material, so don't grab one by default just because it's available at the rental counter.
A hand tamper only makes sense for small patches, tight corners against a house foundation, or repair spots too small for machinery. Expect to compact in thinner lifts and put in a lot more physical effort per square foot, with less certainty about the result.
- Plate compactor: preferred choice for patio base material
- Jumping jack: useful for clay, trenches, and cohesive soils
- Hand tamper: suitable for edges and small repairs
Rental costs vary by region and plate size, so call your local rental yard for current rates before you commit to a weekend timeline.
Pro Tip: Ask the rental counter for a plate compactor with a poly or rubber pad attachment if you'll be running it anywhere near installed pavers. It's a cheap add on that prevents chipped edges during final compaction.
How Do You Compact a Patio Base Step by Step?
-
Excavate to the right depth. Dig out your patio footprint to account for compacted base depth, bedding sand, and paver thickness combined. Remove all organic material, roots, and soft or spongy soil. That stuff will never compact properly and will keep settling for years.
-
Compact the native subgrade first. Before you add a single scoop of base material, run the compactor over the exposed soil until it clearly resists deformation. Skipping this step is one of the most common reasons patios settle in year one.
-
Place your first lift. Spread a loose layer of crusher run 2 to 3 inches thick (never more than 4 inches loose, per Unilock's installation guidance). Most plate compactors simply can't transfer enough energy through a thicker lift to reach the bottom.
-
Dampen the material lightly. A slight moisture content helps particles bind together during compaction. You want damp, not soggy. Standing water or mud means you've gone too far and need to let it dry out some before continuing.
-
Compact with overlapping passes. Run the compactor in overlapping passes, roughly 50% overlap between each, and make multiple passes over the entire lift (MidAtlantic's guide specifies this pattern for granular base). Don't just walk it once and call it done.
-
Repeat for each additional lift. Add your next 2 to 3 inch layer only after the one below is fully compacted, and repeat the moisten-and-overlap process until you hit your target compacted depth.
-
Check elevation constantly. Use string lines and a straightedge to check grade after every lift, not just at the end. Maintain a slight slope, typically around 1 to 2%, so water drains away from the house instead of pooling on your new patio.
Pro Tip: Snap a mental (or literal) photo of your string lines after each lift. Catching a low spot after lift two takes five minutes to fix. Catching it after your pavers are down means pulling the whole section back up.
Do You Need to Compact the Bedding Sand Layer?
Once your compacted base is at the right depth and grade, install a solid edge restraint before you touch the bedding sand. Plastic, aluminum, or concrete edging locks the whole system in place and keeps pavers from creeping outward under load over time.
Screed your bedding sand to roughly 1 inch thick and level it with a screed rail or straight board. This is the layer where a common mistake happens: do not compact the bedding sand before laying pavers. Unilock's base and bedding guidance is explicit on this point. The bedding layer exists to level and cushion, not to add structural strength, and pre compacting it just makes the pavers harder to seat evenly.
- Edge restraint goes in before final leveling, on top of the compacted base
- Bedding sand stays loose at install, roughly 1 inch thick
- Final compaction (after pavers are down) seats them and drives joint sand into the gaps
- Use a protective mat or a paver-specific roller plate and keep the compactor moving at a steady, low speed to avoid scuffing the surface
That final pass over the finished pavers is doing double duty: locking the units in place and settling joint sand where it belongs.
How to Compact a Patio Base Without a Plate Compactor
Small jobs and tight budgets sometimes rule out a rental. Hand tamping can work, but only if you adjust your expectations and your technique.
Use thinner lifts than you would with a machine, closer to 1 to 2 inches, and expect to spend far more time and effort getting equivalent density. Check your work constantly with a straightedge across the surface, since hand tamping is uneven by nature and low spots are easy to miss until pavers reveal them later.
Skip the shortcuts people suggest online, like standing concrete blocks on a plywood platform and stomping around. It looks like compaction, but it delivers inconsistent, unpredictable density and does nothing to address deeper voids.
- Smaller lifts (1 to 2 inches) for hand tamping
- More passes per lift than machine compaction requires
- Frequent straightedge checks across the whole area
- Skip improvised tamping methods on plywood or blocks
Pro Tip: If your patio is bigger than roughly 150 square feet or your soil has any clay content, hand tamping stops being a reasonable option. That's the point where renting a compactor or calling in a pro saves you more time than it costs.
How Do You Know If Your Patio Base Is Compacted Enough?
You don't need lab equipment to judge most residential jobs. A few field checks tell you almost everything.
Walk test: Walk across the compacted surface. If you leave visible footprints or feel give underfoot, it's not done. Sound check: Listen to the compactor itself. The engine and plate typically produce a different, higher pitched sound once the material below stops absorbing energy and starts reflecting it back. Shovel probe: Push a shovel or rod into the surface at a few spots. Resistance should be consistent across the whole patio footprint, not soft in one corner and hard in another.
Engineers reference 95% Proctor density as the technical target for stable base material, and while you won't be running lab tests in your backyard, that same CrushedStoneCalculator source notes the practical field indicators, a shift in compactor sound and the surface no longer sinking, correlate closely with hitting that target.
- No visible footprints or surface give after compaction
- Compactor sound shifts to a higher pitch as density increases
- Shovel probe resistance stays consistent across the area
If you find a soft spot, don't just run the compactor over it more. Excavate the area, replace it with fresh compactable stone, and recompact in thin lifts. For large soft zones or consistently poor subgrade across the whole site, that's a signal to bring in professional grading rather than fighting it with a rental compactor all weekend.
Field Tips from A-to-zconstruction on Getting Patio Base Compaction Right
A few habits separate a base that lasts decades from one that needs a redo in three years.
Order material with the compaction allowance built in, about 1.25 times your calculated loose volume, and confirm the gradation with your supplier before delivery. Not every yard's "crusher run" behaves the same under a plate compactor.
Write down your lift thickness and pass counts as you go, even just on a notepad. It sounds excessive for a backyard project, but that record helps if you're comparing contractor bids later or need to show what was actually done beneath the pavers.
When you hit a saturated or spongy patch, don't try to compact your way through it. Excavate it out and replace it with dry, compactable stone instead. Over-compacting wet material just relocates the problem instead of solving it.
- Order roughly 1.25x loose material and confirm gradation with the supplier
- Track lift thickness and pass counts for reference
- Replace saturated patches rather than compacting them repeatedly
Pro Tip: Keep a phone photo log of each lift, especially the subgrade before base goes down. It's the fastest way to prove workmanship if a dispute ever comes up.
What the Data Actually Tells You to Prioritize
Most patio compaction advice online treats lift thickness as a suggestion rather than a rule, and that's backwards. The 3 to 4 inch lift limit isn't a conservative guideline someone made up. It's a mechanical constraint on what a standard plate compactor can physically transfer force through. Ignore it and you get a base that looks compacted on top and stays loose underneath, which is arguably worse than skipping compaction altogether because it hides the problem until the patio's already built.
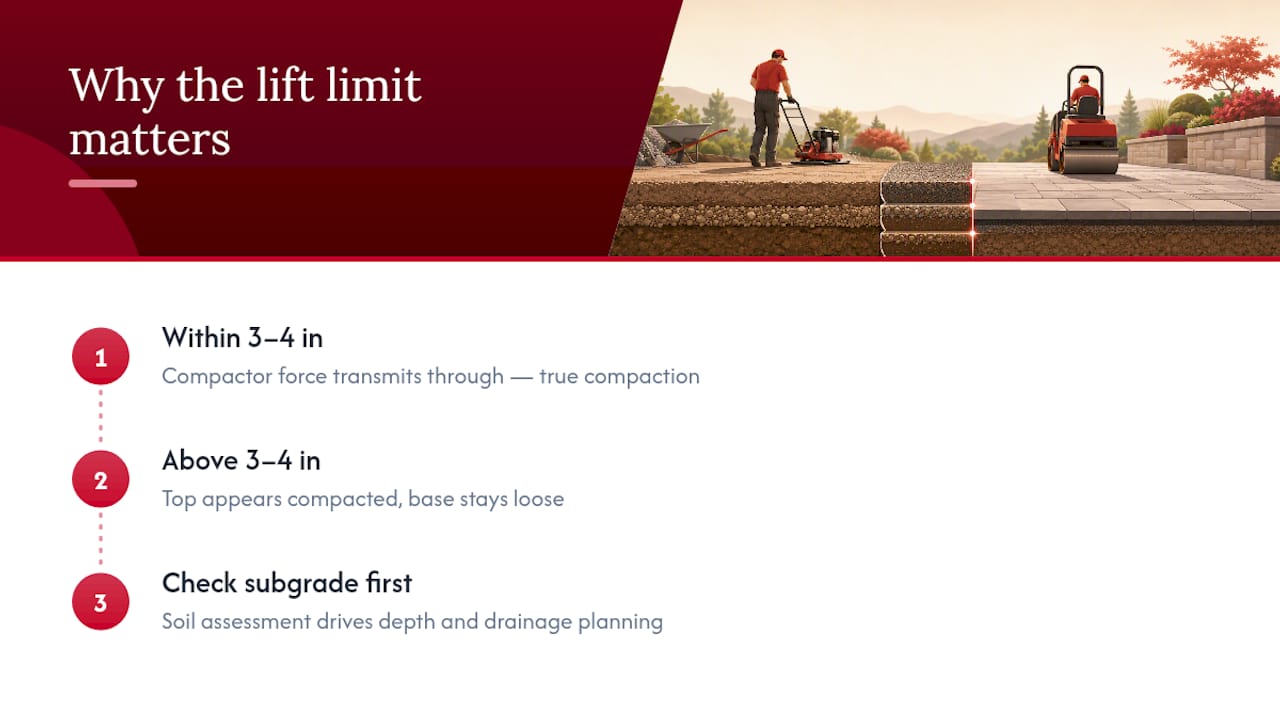
The other thing conventional advice underplays: soil assessment matters more than material choice. Homeowners spend hours debating crusher run versus #57 stone and five minutes looking at their actual subgrade. If your native soil is clay and holds water after a storm, that decision drives your depth and drainage planning far more than which aggregate you buy.
Prioritize the subgrade check and lift discipline first. Everything else, material brand, exact tool model, is secondary to those two things.
Consider a Professional for Larger or Trickier Patio Projects
DIY compaction works well for a modest patio on decent soil with a weekend to spare. It gets a lot harder once you're dealing with soft or saturated subgrade, a large patio footprint, a site with real freeze/thaw exposure, or no easy access to rental equipment.

A-to-zconstruction handles the full scope, earthwork, base compaction, and paver installation, under one crew instead of juggling separate subcontractors for grading and hardscape. That matters most when soil conditions turn out worse than expected mid-project, since there's no delay waiting on a second company to remobilize. If your site has drainage issues, heavy clay, or a patio bigger than a weekend DIY job should tackle, our hardscape team handles it from excavation through final paver seating. Request a free hardscape estimate and get a straight answer on what your site actually needs before you rent anything.
Sources
For readers who want the technical detail behind these numbers, a few sources are worth bookmarking:
- Proper concrete paver base and depth: what to know and why it matters | CMHA
- Do's and Don'ts of Paver Installation: Step 2 of 3 - Base Preparation | Unilock
- Crusher run patio base: depth, compaction & tonnage guide | CrushedStoneCalculator
- Paver installation guide (MidAtlantic) — installation depth and compaction instructions
- Multiquip paver plate compactor — product specification and benefits
FAQ
What is the best way to compact a paver base?
Use a plate compactor and build the base in 2 to 3 inch loose lifts (4 inches maximum), compacting each lift fully with overlapping passes before adding the next layer.
How far down should you dig for a patio base?
Dig deep enough to fit your compacted base (4 to 6 inches for most patios), plus 1 inch of bedding sand and the thickness of your pavers, adding more depth on clay soil.
What tool is most commonly used to compact a paver base?
A plate compactor is the standard tool, and paver-specific models with rubber rollers reduce the risk of chipping during final compaction over installed pavers.
How do you compact a paver base without a compactor?
Hand tamping works for small areas using thinner 1 to 2 inch lifts and more passes, but it's not a reliable substitute for a plate compactor on a full-size patio.
Do you need to compact the bedding sand under pavers?
No. Bedding sand stays loose at roughly 1 inch thick; only the final compaction pass after pavers are placed should touch that layer.