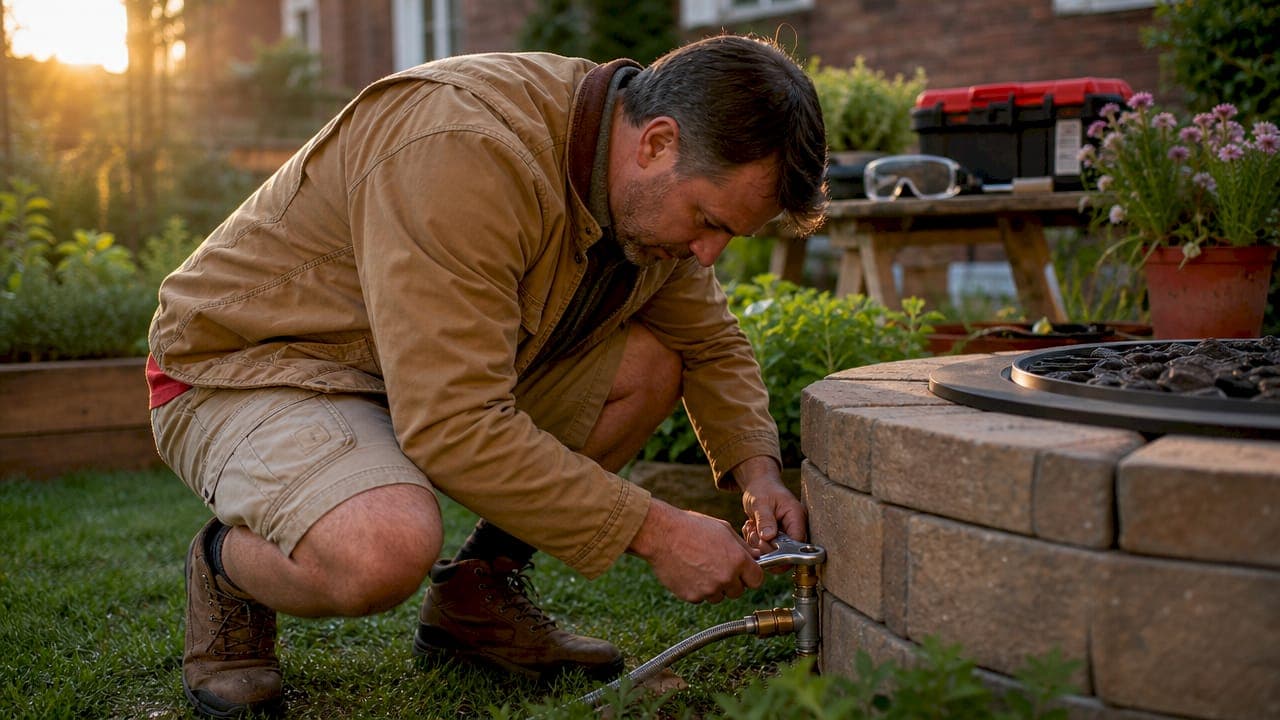
Gas fire pit installation is the process of safely connecting a gas supply to an outdoor fire feature, selecting the right location, fuel source, and components, and meeting local code requirements for reliable backyard use. Done right, a gas fire pit adds warmth and ambiance to any outdoor space without the mess of wood smoke or the hassle of hauling logs. Done wrong, it creates gas leaks, carbon monoxide hazards, and failed inspections. This guide walks you through every stage, from planning and permits to burner connection and long-term maintenance, so your project goes smoothly from day one.
What must you know before installing a gas fire pit?
Gas fire pit installation starts with planning, not tools. Skipping the planning phase is the single most common reason projects stall, cost more than expected, or fail inspection.
Permits and local codes come first. All permanent outdoor gas fire pits must comply with NFPA 54 or the International Fuel Gas Code, which requires listed appliances and documented pressure tests. Most municipalities also require a separate gas line permit on top of any general building permit. Missing those permits risks fines and can void your homeowner's insurance.
Fuel type shapes the entire project. The choice between natural gas and propane affects your line routing, tank logistics, and long-term cost. Natural gas suits homes with an existing gas line and offers an endless fuel supply. Propane works well for portable setups or properties without gas service, but requires ongoing tank refills and a dedicated storage area. Neither option is universally better. Your existing infrastructure usually decides it for you.
Before breaking ground, confirm these prerequisites:
- Clearance requirements: Most codes require at least 10 feet of clearance from structures, fences, and combustible materials.
- Surface and foundation: The fire pit must sit on a non-combustible surface such as concrete, pavers, or stone.
- Ventilation planning: Vent placement depends on fuel type and must be factored into enclosure design from the start.
- Component list: You will need a burner pan, burner ring, gas valve, flexible gas connector, ignition system, and decorative media such as lava rock or fire glass.
Pro Tip: Plan your gas line route before you build the enclosure. Retrofitting a gas line after the masonry is complete adds hundreds of dollars in labor and often requires tearing out finished work.
| Component | Purpose |
|---|---|
| Burner pan and ring | Distributes flame evenly across the fire pit |
| Gas shutoff valve | Allows safe fuel cutoff without disassembly |
| Flexible gas connector | Connects rigid line to burner with movement tolerance |
| Ignition system | Lights the burner safely, often with electronic spark |
| Enclosure vents | Disperse gas safely based on fuel type |
How to install the gas line and connect the burner system safely
Gas line work is not a DIY task. A licensed gas professional must handle any permanent gas line connection. DIY connections pose severe safety risks and frequently violate local codes, which means failed inspections and potential insurance denial.
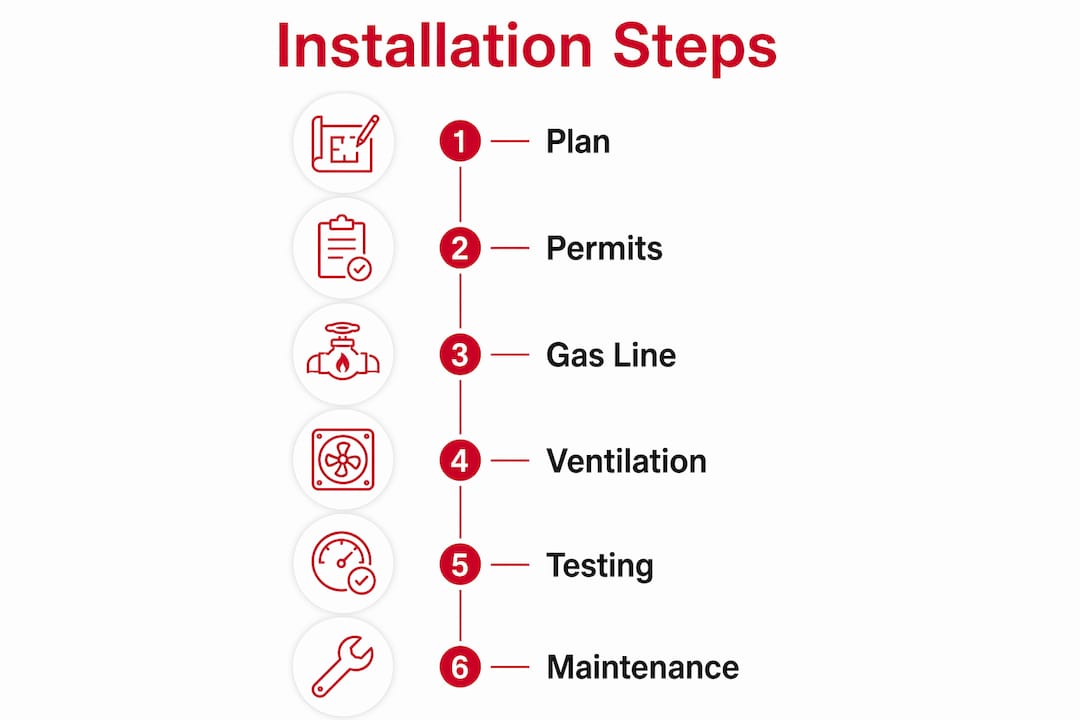
Here is how a proper installation unfolds:
- Route and size the gas line. The contractor calculates BTU demand and line distance to select the correct pipe diameter. Undersized lines cause low pressure, weak flames, and ignition failure.
- Excavate and run the line. Underground lines require burial at the depth specified by local code, typically 18 inches or more. The contractor pulls the required gas line permit before any digging starts.
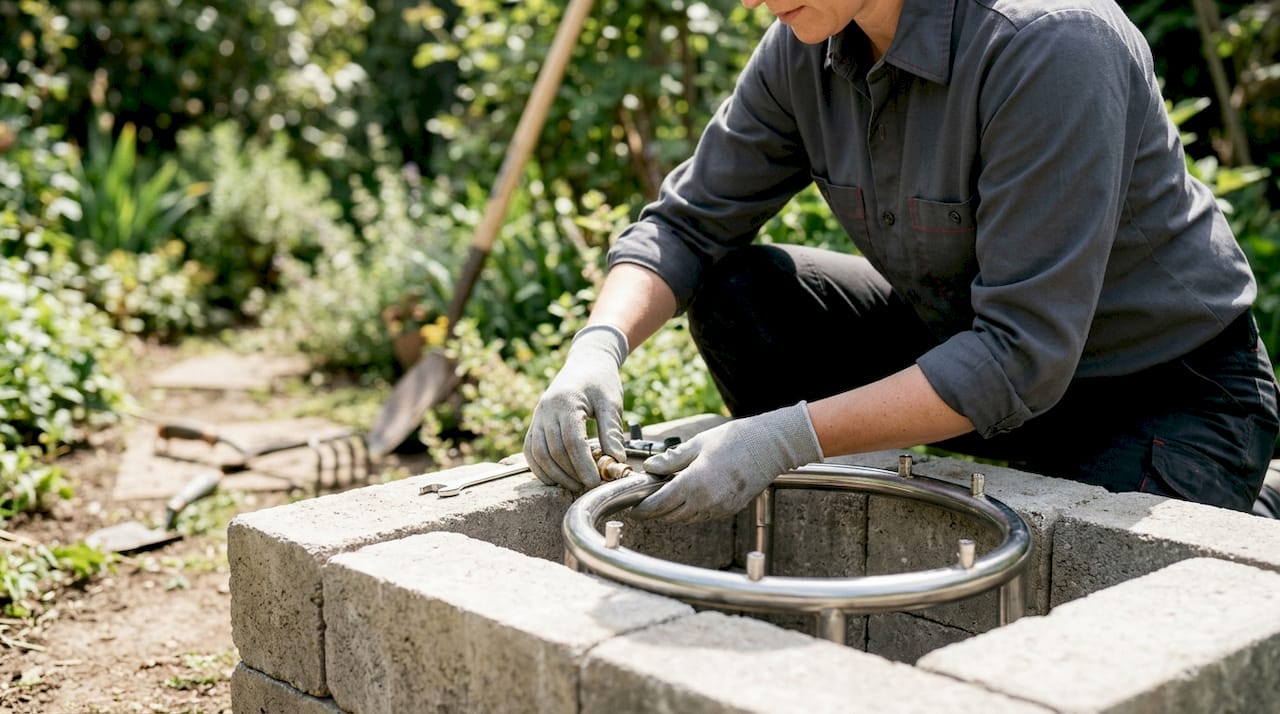
- Connect the flexible gas line to the burner. Use a flexible stainless steel connector rated for outdoor gas use. Avoid elbow connectors and sharp turns in the flexible line. Sharp bends restrict flow and cause uneven flames and noise.
- Install the gas valve. The shutoff valve must sit 6–10 feet from the fire pit for easy user access, with a second shutoff near the building exit as required by many codes.
- Tighten all fittings with two wrenches. Using two wrenches prevents torque stress on the pipe. Over-tightening with a single wrench damages gaskets and creates slow leaks that are hard to detect.
- Perform a soapy water leak test. Apply soapy water to every connection before enclosing anything. Bubbles indicate a leak. Fix every leak before proceeding.
- Conduct a documented pressure test. Pressure testing is mandated by code and required to pass inspection. The contractor pressurizes the line and holds it for a set period to confirm integrity before backfilling.
Pro Tip: Never use pipe dope or thread tape on flare fittings. Flare connections seal metal to metal. Adding sealant to a flare fitting actually prevents a proper seal and creates a leak point.
The burner pan should have clearance on all sides inside the enclosure. A tight fit traps heat and can warp the pan over time. Check the manufacturer's minimum clearance spec before finalizing your enclosure dimensions.
What ventilation and safety systems are essential for gas fire pits?
Ventilation is the most underestimated part of outdoor gas fire pit installation. Without proper venting, gas accumulates inside the enclosure and creates an explosion risk every time you light the burner.
The fuel type determines where vents go. Natural gas is lighter than air and rises, so natural gas fire pits need vents near the top of the enclosure. Propane is heavier than air and sinks, so propane fire pits need vents near the bottom. Installing vents in the wrong position does nothing to prevent dangerous gas buildup.
Vent sizing matters as much as placement. Each enclosure requires at least two vents with a minimum of 18 square inches each. That minimum exists because smaller openings cannot move enough air volume to safely dilute accumulated gas before ignition.
Beyond ventilation, these safety systems are non-negotiable:
- Emergency shutoff valve: Must be accessible without removing any part of the enclosure. Codes often require multiple shutoffs at different points along the gas line.
- Listed ignition system: The ignition system must carry a listing from a recognized testing lab. Unlisted igniters fail safety inspections and create liability exposure.
- Safety shutoff function: Most listed ignition systems include a thermocouple or thermopile that cuts gas flow if the flame goes out. This prevents unburned gas from accumulating.
- Drainage: The burner pan area needs a drainage path. Standing water corrodes ignition components and causes premature failure.
- Enclosure materials: Use only non-combustible materials such as concrete block, brick, or natural stone. Maintain the clearances specified in the appliance listing documentation.
Successful commissioning also requires confirming that the burner operates correctly under wind conditions. A flame that blows out repeatedly in light wind signals a burner placement or enclosure design problem, not a fuel pressure issue.
How to test, avoid common mistakes, and maintain your fire pit
Testing is the step homeowners most often rush. A fire pit that passes a quick visual check can still have a slow leak at a fitting or a misaligned burner that produces uneven flames.
Follow this verification sequence after installation:
- Repeat the soapy water test on every accessible fitting with the gas valve open and the burner off.
- Light the burner and observe flame height and consistency across the full ring. Uneven flames indicate a flow restriction or a burner that is not level.
- Test the ignition system five times in a row. Reliable ignition on the first or second attempt is the standard.
- Verify that the safety shutoff cuts gas within 30–60 seconds when the flame is manually extinguished.
- Check all vents for obstructions such as debris, insect nests, or construction material left inside the enclosure.
The most expensive mistake in gas fire pit installation is not the wrong burner or the wrong stone. It is skipping the permit and discovering the problem when you sell your house. An unpermitted gas installation can kill a real estate transaction and cost far more to remediate than the original permit fee.
Common installation errors to avoid:
- Improper gas line sizing: Always size for peak BTU demand, not average use.
- Blocked or missing vents: Vents added as an afterthought are often too small or placed incorrectly.
- Valve buried inside the enclosure: The shutoff must be reachable without tools or disassembly.
- Ignoring the appliance listing: Using unlisted components voids the inspection and the warranty.
For ongoing maintenance, clean the burner ports at the start of each season using a soft brush. Inspect all fittings annually for corrosion. Cover the fire pit when not in use to protect the ignition system from moisture. A spring maintenance check of your hardscape and fire pit components catches small problems before they become expensive repairs.
Pro Tip: Store a small bottle of soapy water near the gas shutoff. A quick check at the start of each season takes two minutes and catches any fitting that shifted during winter freeze-thaw cycles.
Key Takeaways
Safe, code-compliant gas fire pit installation requires licensed gas line work, correct vent placement by fuel type, documented pressure testing, and accessible shutoff valves at every stage.
| Point | Details |
|---|---|
| Permits before everything | Pull gas line and building permits before any excavation or enclosure work begins. |
| Fuel type drives design | Natural gas vents near the top; propane vents near the bottom. Wrong placement creates a hazard. |
| Licensed pros for gas lines | DIY permanent gas connections violate most codes and create serious leak and carbon monoxide risks. |
| Two wrenches, then leak test | Use two wrenches on every fitting and test with soapy water before enclosing any connection. |
| Annual maintenance protects investment | Clean burner ports, inspect fittings, and cover the unit each season to prevent premature failure. |
What I have learned from watching homeowners rush this project
After seeing dozens of outdoor fire feature projects, the pattern is clear. Homeowners who treat gas fire pit installation as a weekend project almost always end up calling a professional to fix something, and the fix costs more than the original professional installation would have.
The part that surprises most people is ventilation. They focus on the burner, the stone, and the glass media, and they treat the vents as an afterthought. Then they wonder why the enclosure smells like gas on startup or why the flame blows out in a light breeze. Ventilation is structural. It belongs in the design phase, not the finishing phase.
The other thing I keep seeing is homeowners who skip the permit to save time. Gas line permits exist because gas leaks kill people. The inspection process is not bureaucratic friction. It is a second set of eyes on work that, if wrong, can cause a fire or a carbon monoxide event inside your home. Respect the process. The fee is small compared to the risk.
Plan the gas line route early, hire a licensed contractor for the connection, and do not cut corners on vent sizing. Those three decisions determine whether your fire pit is a long-term asset or a recurring problem.
— Jake
A-to-zconstruction builds fire pits that last
A gas fire pit is only as good as the enclosure and gas system behind it. At A-to-zconstruction, we handle the full scope, from pulling permits and coordinating licensed gas line work to building custom brick and stone masonry enclosures that meet code and look great for decades.

Our team has completed over 500 projects across Cedar City and southern Utah, and we manage every phase under one roof. That means no gaps between the gas contractor, the mason, and the hardscape crew. You get one point of contact and a finished fire pit that passes inspection the first time. Visit our fire pits and outdoor fireplaces page to see our work, or get a free estimate and tell us what you have in mind.
FAQ
How much does gas fire pit installation cost?
Professional installation for a custom-built gas fire pit burner and line run typically costs $2,200–$3,800, not including masonry. Long gas line runs and valve enclosures add $400–$1,600 to that base cost.
Do I need a permit for a gas fire pit?
Yes. Permanent outdoor gas fire pits require a gas line permit and must comply with NFPA 54 or the International Fuel Gas Code. Missing permits can result in fines and insurance complications.
Can I install a gas fire pit myself?
You can assemble the enclosure and decorative components yourself, but permanent gas line connections must be made by a licensed gas professional. DIY gas connections violate most local codes and create serious safety risks.
What is the difference between natural gas and propane fire pits?
Natural gas connects directly to your home's gas line and never runs out, while propane uses a refillable tank and offers more placement flexibility. Your existing infrastructure and how often you plan to move the fire pit usually determines the better choice.
Where should the shutoff valve be located?
The shutoff valve must be placed 6–10 feet from the fire pit and accessible without removing any part of the enclosure. Many codes also require a second shutoff near the building exit.