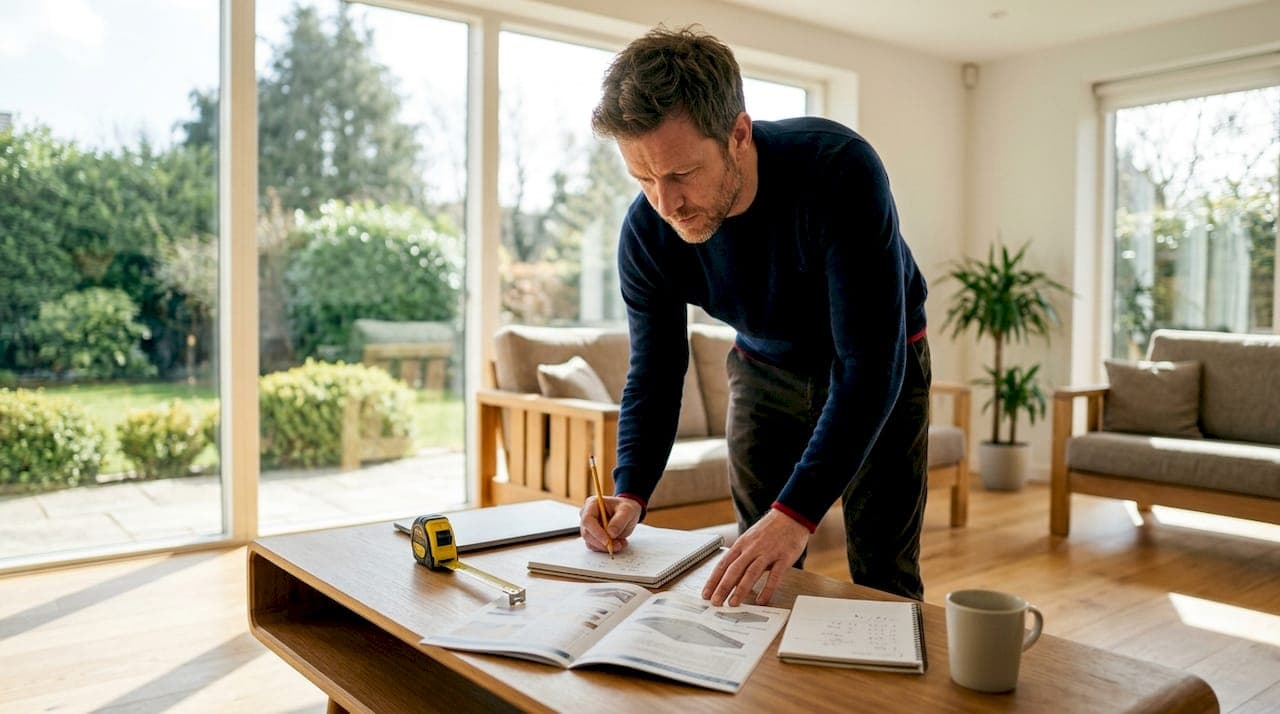
A concrete slab installation cost calculator estimates the total price for pouring a residential slab by calculating material volumes, labor, and finishing costs based on your project specifications. Most homeowners are surprised to learn that a standard 4-inch broom-finish slab runs $6.00 to $10.00 per square foot installed, with regional labor rates swinging that number significantly. The industry term for this process is "concrete quantity and cost estimation," and a good calculator applies IRC 2024 standards, regional labor data, and waste factors to give you a number you can actually build a budget around. Getting this right before you call a contractor puts you in a far stronger position.
What are the main components that affect concrete slab installation costs?
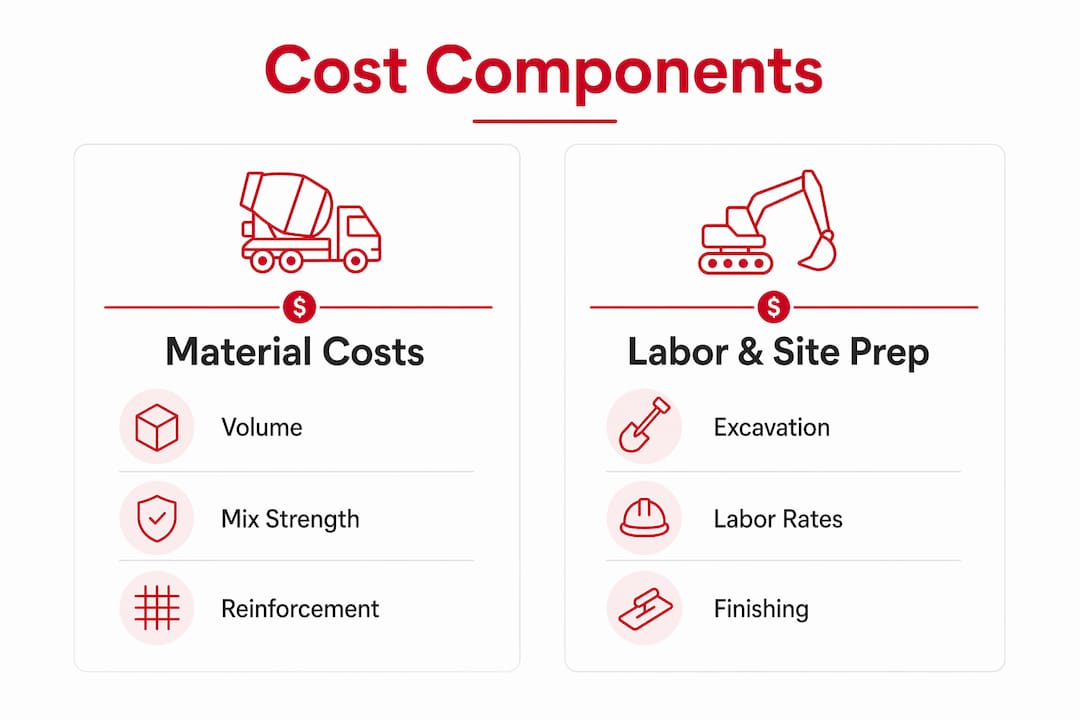
Concrete slab pricing is not a single number. Installed cost covers excavation, gravel base, forms, reinforcement, pouring, finishing, curing, cleanup, and contractor overhead. Each phase adds to the total, and skipping any of them in your estimate produces a budget that falls apart on day one.
Material costs depend on concrete volume and mix strength. Residential slabs typically use 3,000 PSI or 4,000 PSI concrete. Ready-mix delivery costs $125–$175 per cubic yard. A simple 10x10 slab at 4 inches thick requires about 1.23 cubic yards, which gives you a baseline for scaling up to larger projects.
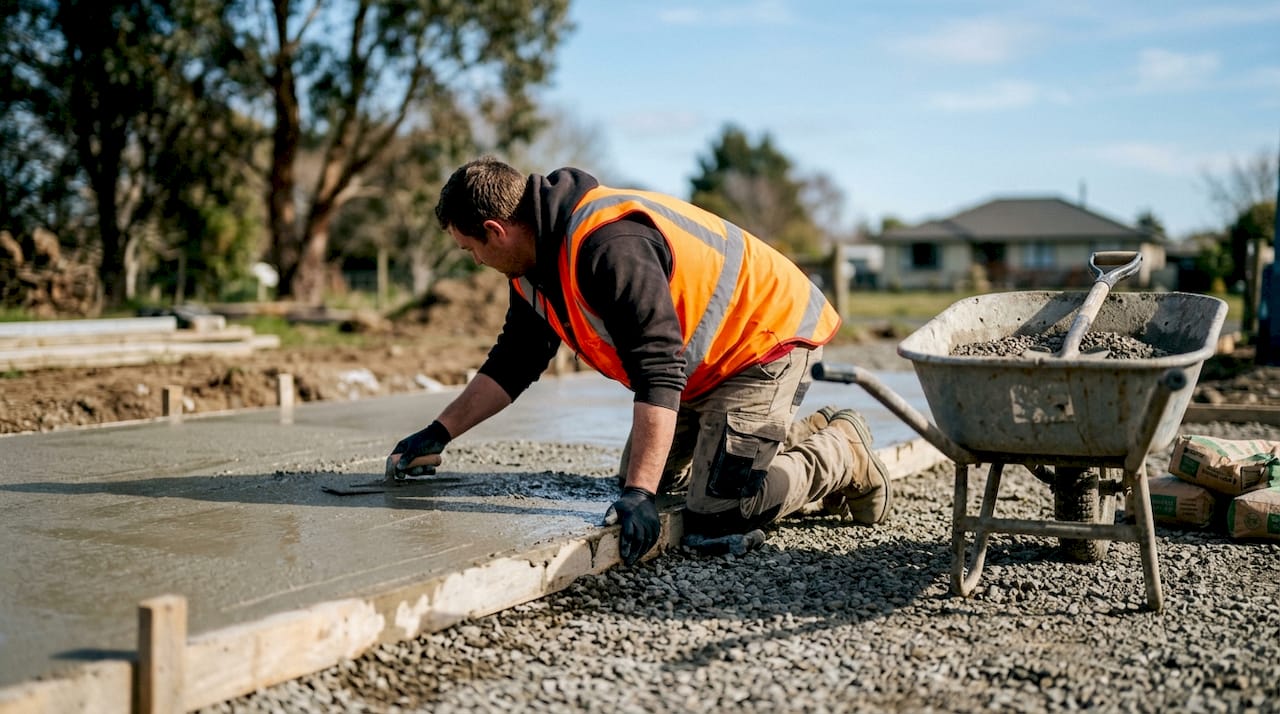
Labor is the biggest variable. Labor represents 30–40% of total installed cost. Northeast and West Coast markets run $4.50–$6.50 per square foot for labor alone, while Southern states average $3.00–$4.50. That gap alone can shift a 400-square-foot patio estimate by $600 or more.
Slab thickness and reinforcement directly affect both material volume and labor intensity. IRC 2024 Section R506 mandates a minimum 3.5-inch slab thickness for residential construction. Four inches is standard practice for patios and walkways. Driveways and heavy-load areas require 5–6 inches with #4 or #5 rebar instead of wire mesh.
Finishing options shift the price more than most homeowners expect:
- Broom finish: standard, lowest cost, included in base price
- Exposed aggregate: moderate upcharge, adds texture and visual interest
- Stamped concrete: adds $4–$12 per square foot above the base price
- Polished finish: highest cost, typically used for interior applications
Pro Tip: Get separate line-item quotes for site prep, materials, labor, and finishing. A single lump-sum bid makes it impossible to identify where costs are running high.
How to use a concrete slab cost calculator effectively
A concrete slab pricing tool is only as accurate as the inputs you give it. Follow these steps to get a reliable estimate.
- Measure your slab dimensions. Length times width gives you square footage. Multiply by thickness in feet (4 inches = 0.333 feet) to get cubic footage, then divide by 27 to convert to cubic yards.
- Select your slab thickness. Use 4 inches for patios and walkways. Use 5–6 inches for driveways or any surface that will carry vehicle weight per IRC 2024 Section R506 requirements.
- Choose your reinforcement type. Wire mesh works for standard 4-inch residential slabs. Rebar is required for thicker slabs or any application with heavy or repeated loads.
- Pick your finish level. Broom finish is the baseline. If you want stamped or decorative concrete, add the per-square-foot upcharge to your estimate.
- Apply a 10% waste factor. Add 10% to your concrete volume to avoid running short mid-pour. Running out of concrete mid-pour creates cold joints, which are permanent weak lines in the slab structure.
- Adjust for your region. Use local labor rate data or ask a local contractor for a labor-per-square-foot benchmark. Plugging in a national average when you live in San Francisco or rural Utah will produce a meaningless number.
- Interpret the output as a range, not a fixed price. Add 10–15% to the calculator result as a contingency buffer for site-specific surprises like poor soil conditions or difficult access.
The goal is a realistic budget range, not a single number. Treat the calculator output as your floor estimate, not your ceiling.
DIY versus professional installation: what does it actually cost?
The cost gap between DIY and professional installation is real, but it is not as wide as most homeowners assume once you account for all expenses.
DIY material-only cost runs $1.50–$3.00 per square foot. Professional installation runs $5.50–$10.50 per square foot depending on region and project complexity. That gap looks large until you add up equipment rental, delivery fees, and the cost of fixing mistakes.
Key cost differences to factor into your estimate:
- Ready-mix vs. bagged concrete: Bagged concrete costs $6–$8 per 80-lb bag and is roughly twice as expensive per cubic yard as ready-mix. Ready-mix is the right call for any pour over 1.5 cubic yards.
- Short-load fees: Ready-mix orders under 5 cubic yards carry short-load fees of $50–$125. Small DIY pours often trigger this charge, which erodes the cost advantage of mixing your own.
- Equipment rental: Plate compactors, concrete mixers, screeds, and bull floats add up fast. A full day of equipment rental for a mid-size patio can run $150–$300.
- Permits and inspections: Many municipalities require permits for slabs over a certain size. Permit fees vary by city but are a fixed cost regardless of who does the work.
Pro Tip: For slabs over 200 square feet, get at least two contractor bids before committing to DIY. The price difference is often smaller than expected, and professional work typically carries a warranty.
The hidden cost of DIY is quality risk. Neglecting proper soil compaction and gravel base installation leads to early cracking regardless of concrete quality or thickness. A slab that cracks within two years costs more to replace than the labor savings were worth.
For a detailed look at concrete slab installation in Utah, including site prep requirements and reinforcement options, A-to-zconstruction covers the full process from excavation through curing.
Common pitfalls when relying solely on cost calculators
A concrete slab budget estimator gives you a starting point. It does not replace field knowledge. These are the most common ways homeowners blow their budgets by trusting calculator outputs too literally.
- Ignoring site prep costs. Grading, excavation, and gravel base compaction are often priced separately and rarely appear in basic calculator outputs. Skipping proper site preparation causes slab cracking within 2–5 years.
- Underestimating thickness upgrades. Going from 4 inches to 6 inches does not add 50% more cost. It increases concrete volume by 50%, requires heavier reinforcement, and adds labor time. The total cost increase is often 70–90%.
- Forgetting the waste factor. Calculators that do not include a 10% waste buffer will produce a short-order scenario. Cold joints formed when concrete runs out mid-pour permanently weaken the slab.
- Using national average labor rates. A calculator using a $4.00 per square foot labor rate is useless if your local market runs $6.00. Always verify with a local contractor quote.
- Overlooking finishing and curing costs. Curing compounds, sealers, and decorative finishes are line items that basic calculators often exclude. Stamped concrete, for example, adds $4–$12 per square foot above the base price.
Pro Tip: Use the calculator to build your initial estimate, then add 15–20% as a contingency. Get one local contractor bid to calibrate the calculator output against real market pricing in your area.
How residential concrete slab details influence calculator accuracy
The specific design of your slab determines whether a calculator gives you a useful number or a misleading one. Residential concrete slab details matter because small specification changes produce large cost swings.
| Slab specification | Standard option | Heavy-duty option |
|---|---|---|
| Thickness | 4 inches (IRC 2024 minimum: 3.5 in.) | 5–6 inches for driveways |
| Reinforcement | Wire mesh (6x6 W1.4xW1.4) | #4 or #5 rebar at 12-inch spacing |
| Concrete PSI | 3,000 PSI | 4,000 PSI or higher |
| Finish | Broom finish | Stamped or polished |
| Vapor barrier | 6-mil poly sheeting (IRC 2024 required) | 10-mil poly for moisture-sensitive areas |
Thicker slabs do more than add material cost. Slabs at 5–6 inches provide a durability buffer against ground movement and soil expansion, effectively doubling slab lifespan despite higher upfront cost. For a driveway in a region with freeze-thaw cycles, that tradeoff is worth every dollar.
Regional soil and climate conditions also affect cost in ways no online calculator captures. Expansive clay soils in parts of Utah require deeper gravel bases and sometimes geotextile fabric underlayment. Rocky terrain increases excavation costs. A calculator built on national averages will underprice both scenarios. For a UK-based comparison of how site prep and reinforcement affect slab pricing, the same principles apply across markets even when labor rates differ.
The most accurate way to calculate concrete slab expenses is to treat the calculator as a framework and then adjust each line item for your specific site conditions, local labor rates, and finish requirements.
Key Takeaways
A concrete slab installation cost calculator produces accurate estimates only when you input correct thickness, reinforcement type, finish level, regional labor rates, and a 10% waste factor.
| Point | Details |
|---|---|
| Base cost range | Installed slabs run $6.00–$10.50 per sq ft depending on region, thickness, and finish. |
| IRC 2024 thickness standard | Minimum 3.5 inches is required; 4 inches is standard; driveways need 5–6 inches with rebar. |
| Waste factor is non-negotiable | Add 10% to concrete volume to prevent cold joints and short pours. |
| DIY savings shrink fast | Material-only costs start at $1.50 per sq ft, but equipment rental and short-load fees close the gap. |
| Site prep is a separate cost | Excavation, grading, and gravel base are often excluded from calculator outputs and must be added manually. |
What I've learned from watching homeowners use cost calculators
Calculators are genuinely useful. They give homeowners a vocabulary and a framework before they talk to a contractor. That alone is worth something. But I have seen the same mistake repeated on project after project: homeowners treat the calculator output as a quote rather than a starting point.
The number a calculator produces is based on ideal conditions. It assumes flat, accessible terrain, standard soil, and a crew that shows up on time with the right equipment. Real projects rarely match that profile. Soil conditions, access constraints, and local labor availability all shift the final number in ways no algorithm accounts for.
The other thing calculators consistently miss is the value of thickness. Homeowners almost always choose the minimum to save money upfront. A 4-inch patio slab is fine. A 4-inch driveway in a climate with hard winters is a repair bill waiting to happen. The extra cost of going to 5 or 6 inches with proper rebar is modest compared to the cost of replacement.
My honest advice: use the calculator to understand the cost structure, not to set your final budget. Then talk to a licensed contractor who knows your local soil, your local labor market, and your local code requirements. The calculator tells you what the job should cost in theory. The contractor tells you what it will cost in practice.
— Jake
A-to-zconstruction can help you plan and price your slab project
Estimating a concrete slab project takes more than plugging numbers into a calculator. Site conditions, reinforcement decisions, and finish choices all require field experience to price accurately.

A-to-zconstruction is a licensed general contractor in Cedar City, Utah, with over 500 completed projects across concrete work, earthwork, and hardscape. The team handles every phase under one roof, from grading and excavation through pouring, finishing, and curing. Homeowners in Cedar City and across Utah get a single point of contact and a detailed estimate that reflects actual local labor and material costs. For structural remodeling and concrete slab work, A-to-zconstruction provides free consultations so you know exactly what your project will cost before work begins. Reach out to get a real number, not a calculator estimate.
FAQ
What does a concrete slab installation cost calculator include?
A concrete slab installation cost calculator estimates material volume, labor, reinforcement, finishing, and sometimes site prep costs based on your slab dimensions and specifications. The most accurate tools also apply a regional labor rate and a 10% waste factor.
How thick should a residential concrete slab be?
IRC 2024 Section R506 requires a minimum of 3.5 inches, but 4 inches is standard residential practice. Driveways and heavy-load areas require 5–6 inches with rebar reinforcement.
Is DIY concrete cheaper than hiring a contractor?
DIY material-only costs run $1.50–$3.00 per square foot, compared to $5.50–$10.50 per square foot for professional installation. However, equipment rental, short-load fees, and the risk of improper site prep often reduce the actual savings significantly.
Why do calculators underestimate concrete slab costs?
Most calculators exclude site preparation costs like excavation, grading, and gravel base compaction, which are priced separately but are critical to slab longevity. They also often use national average labor rates that do not reflect your local market.
What finish options affect residential concrete slab cost the most?
Stamped and decorative finishes add $4–$12 per square foot above the base price, making them the single largest finishing variable in any cost estimate. Broom finish is the standard baseline and is included in most base-price calculations.