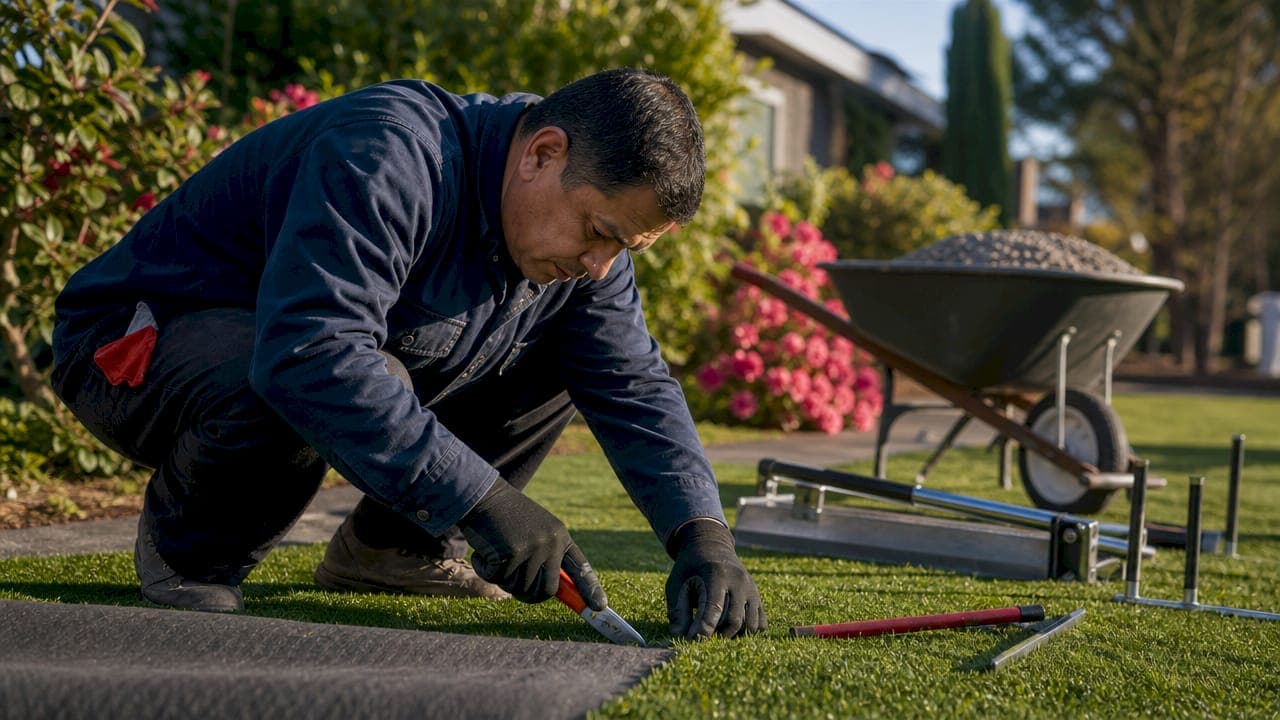
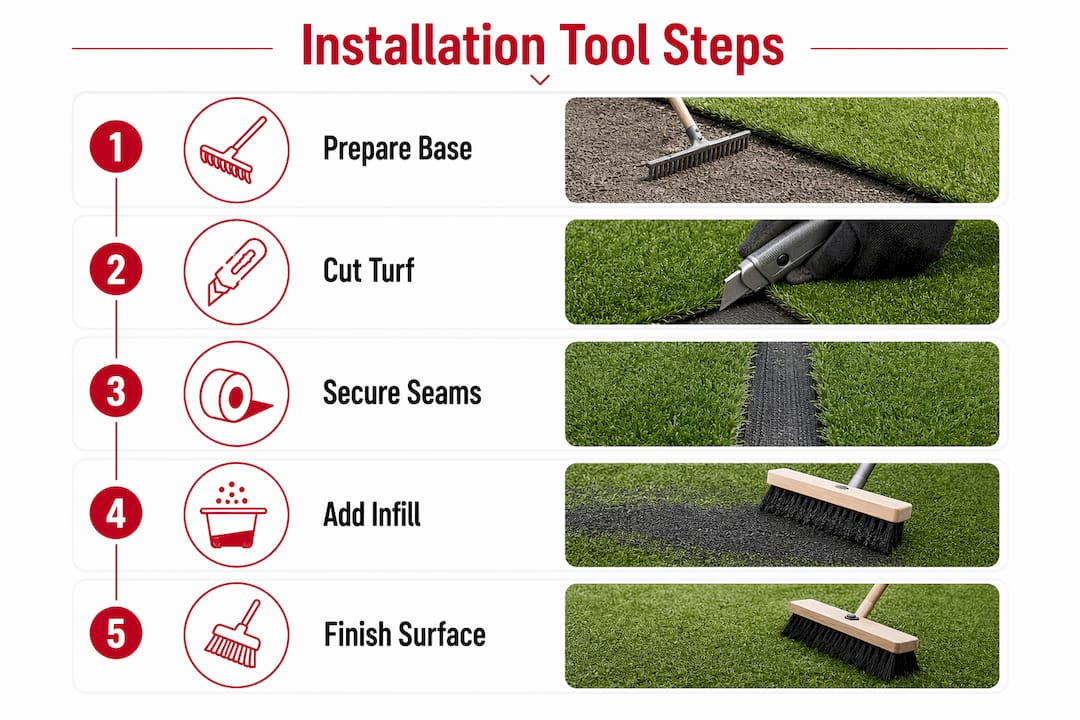
Artificial turf installation tools are the specialized equipment and supplies required to prepare the ground, cut the turf, secure the seams, and finish the surface to a professional standard. Getting these tools right is the single biggest factor separating a durable, realistic-looking lawn from one that buckles, wrinkles, or separates within a season. The installation process breaks into five distinct phases, and each phase demands its own category of artificial grass tools: base preparation, cutting, fastening, infill, and finishing.
What are the essential base preparation tools for artificial turf installation?
Base preparation is the most critical phase of any turf project. A poorly compacted sub-base causes the turf to shift, buckle, and fail prematurely, no matter how well you cut or seam the surface above it.
The two workhorses of base prep are the plate compactor and the sod cutter. Plate compactors rent for around $200 per day and deliver the mechanical force needed to achieve proper sub-base density. Sod cutters, which rent for around $80 per day, strip existing vegetation cleanly so you start with a bare, stable surface. Both are available at most equipment rental yards.
A laser level and a long-handled landscape rake complete the base prep toolkit. The laser level lets you confirm a consistent 1–2% slope for drainage before you lay a single inch of crushed aggregate. The rake spreads and grades the decomposed granite or crushed rock base evenly across the area.
- Plate compactor: Rents for around $200 per day; non-negotiable for sub-base stability
- Sod cutter: Rents for around $80 per day; removes grass and roots in one pass
- Laser level: Confirms drainage slope and flat grade before base material goes down
- Landscape rake: Spreads and grades crushed aggregate evenly
- Hand tamper: Useful only for tight corners where the plate compactor cannot reach
Pro Tip: Hand tamping is not sufficient for open areas. A plate compactor achieves the base density that prevents long-term shifting. Skipping it is the most common reason DIY turf installs fail within the first year.
For projects that also involve foundation drainage work, proper sub-base grading becomes even more important. Water management below the turf directly affects how long the surface performs.
Which cutting and shaping tools do you need for precise turf installation?
Clean cuts are what separate a professional-looking install from an amateur one. Specialized cutting and seaming tools like hook-blade utility knives and seam rollers are the difference between tight, invisible joints and gaps that open up over time.
Hook-blade utility knives are the standard cutting tool for artificial turf. The curved blade cuts through the backing without slicing the fiber pile, which keeps the cut edge looking natural. Standard straight blades drag and fray the backing, leaving a ragged edge that shows at every seam. Purchase cost runs $15–$35, and you should budget for multiple replacement blades on any project larger than 200 square feet.
- Mark the cut line using a chalk line or marking paint directly on the turf backing. Never guess freehand on a straight cut.
- Clamp an aluminum straight edge along the cut line. Aluminum guides cost $20–$50 and prevent the knife from drifting, especially on long runs.
- Score the backing in one firm pass using a hook-blade utility knife. Do not saw back and forth; one clean stroke produces the best edge.
- Check the pile direction before cutting. Cuts made against the pile direction look different from cuts made with it, which matters at seams.
- Replace blades frequently. A dull blade requires more pressure and produces a rougher edge. Fresh blades cost less than $1 each and make a visible difference.
Pro Tip: Improper cutting is the leading cause of visible seam issues. A misaligned or ragged cut cannot be fixed after the turf is glued down. Take the extra five minutes to clamp your guide and use a sharp hook blade every time.
What tools and supplies secure and seam artificial turf for long-lasting results?
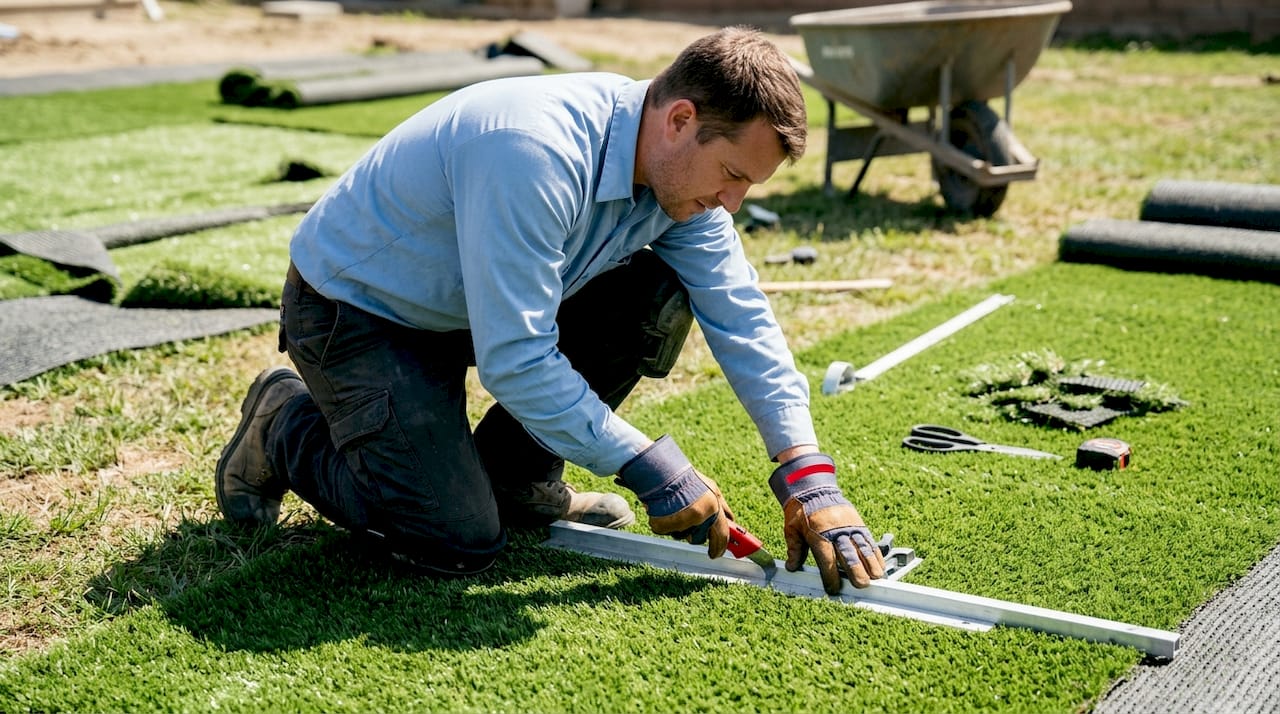
Fastening and seaming tools hold the turf in place at the perimeter and at every join between panels. Failures here show up as lifted edges, visible seams, or panels that shift under foot traffic.
The perimeter gets anchored with either a pneumatic nail gun loaded with galvanized nails or a heavy-duty hammer stapler. Standard fastening materials include galvanized 6-inch nails, heavy-duty staples, and seam tape with adhesive glue. Galvanized fasteners resist corrosion from irrigation and rain, which matters in climates with wet winters or regular watering schedules.
Seams between panels require a different approach. Seam tape goes face-down under the joint, and a heat gun or seam iron activates the adhesive. A seam roller then applies consistent pressure across the full length of the joint. Seam rollers cost $25–$60 and heat guns run $40–$150 depending on temperature range.
- Pneumatic nail gun or hammer stapler: Anchors the perimeter every 3–4 inches
- Galvanized 6-inch nails: Corrosion-resistant fasteners for seams and edges
- Heavy-duty staples: Perimeter anchoring on timber or wood sub-frames
- Seam tape: Placed face-down under panel joints before adhesive activation
- Heat gun or seam iron: Activates seam tape adhesive for a permanent bond
- Seam roller: Applies even pressure along the joint for a consistent, flat bond
| Fastening tool | Best use | Approximate cost |
|---|---|---|
| Pneumatic nail gun | Concrete or compacted base perimeter | Rental or owned |
| Hammer stapler | Timber edging and wood sub-frames | $30–$80 |
| Heat gun | Activating seam tape adhesive | $40–$150 |
| Seam roller | Pressing seam tape for a flat bond | $25–$60 |
| Turf stretcher | Tensioning panels before fastening | Rental recommended |
Pro Tip: Improper tensioning without a turf stretcher leads to wrinkles and seam failures as the material contracts and expands with temperature changes. Rent a turf stretcher for any panel wider than 6 feet.
How do infill and finishing tools affect turf appearance and longevity?
The finishing phase is where most DIY installs fall short. Proper grooming with brushes lifts turf fibers and keeps the surface looking realistic, which is what distinguishes a great install from a flat, matted one.
Infill material, whether silica sand, crumb rubber, organic cork, or a hybrid blend, gets distributed across the turf surface after it is secured. The infill weighs down the backing, supports the fiber pile upright, and improves drainage. Spreading it evenly requires either a drop spreader or a broadcast spreader, both of which you can rent or purchase for $50–$200 depending on capacity.
- Drop spreader: Deposits infill in a controlled band; best for narrow or shaped areas
- Broadcast spreader: Covers large open areas faster; less precise near edges
- Drag board or lute: Levels infill after spreading for an even depth across the surface
- Power broom: The most effective tool for agitating infill and lifting fiber pile
- Stiff poly broom: A manual alternative for smaller areas; costs $20–$45
Power brooms and base-rakes that agitate and lift turf fibers significantly improve the surface's natural look. The agitation works infill down between the fibers while pushing the pile upright, which is exactly what makes synthetic grass look like real grass from a distance. Power brooms rent for $300–$900 depending on the machine, making rental the practical choice for a one-time residential install.
Pro Tip: Run the power broom in multiple directions, not just one pass. Cross-directional grooming lifts fibers that the first pass misses and distributes infill more evenly across the entire surface.
What safety and supplementary tools improve efficiency during installation?
Personal protective equipment and handling tools protect you from injury and reduce fatigue during what is physically demanding work. Turf trolleys and grippers prevent material stress and wrinkles during unrolling, which reduces the chance of seam failure before you even start cutting.
- Knee pads: Turf installation involves extended kneeling on compacted aggregate. Gel-padded knee pads reduce joint strain significantly.
- Work gloves: Turf backing has sharp edges. Heavy-duty gloves protect your hands during cutting and handling.
- Safety glasses: Debris from cutting and compaction work can cause eye injury.
- Tape measure and chalk line: Accurate measurement and layout marking are non-negotiable for clean cuts and square placement.
- Marking paint: Spray-applied layout lines on the base material help position turf panels before unrolling.
- Turf trolley or gripper: Allows two people to unroll heavy turf panels without dragging, which prevents backing damage and wrinkles.
Pro Tip: Wear knee pads from the first minute, not after your knees start hurting. Fatigue from joint pain causes rushed cuts and sloppy seam work in the final hours of the install.
For additional context on how construction equipment choices affect project quality and safety, the 2026 guide on temporary works structures covers related principles around equipment selection and site preparation.
Key Takeaways
The right artificial turf installation tools, matched to each phase of the project, are the single most reliable predictor of a durable, professional-looking result.
| Point | Details |
|---|---|
| Base prep tools are non-negotiable | Rent a plate compactor; hand tamping does not achieve the density needed for long-term stability. |
| Hook-blade knives outperform standard blades | Curved blades cut turf backing cleanly without fraying the fiber pile at seam edges. |
| Seaming requires heat and pressure | Use a heat gun to activate seam tape adhesive, then follow immediately with a seam roller. |
| Infill needs agitation, not just spreading | A power broom lifts fiber pile and works infill evenly between fibers for a realistic finish. |
| Safety tools reduce costly mistakes | Knee pads, gloves, and turf trolleys prevent fatigue-driven errors during long install days. |
What I've learned from watching DIYers skip the right tools
Most homeowners underestimate how much the tools drive the outcome. I've seen installs where the turf itself was high quality but the result looked cheap because the installer used a standard utility knife instead of a hook blade, or skipped the seam roller entirely. The turf did not fail structurally. It just looked wrong, and that is almost impossible to fix after the adhesive cures.
The tools I tell every DIYer to prioritize for rental are the plate compactor and the power broom. These two pieces of equipment have the biggest impact on the final result and the highest cost to own for a single project. Everything else, the knives, the rollers, the spreaders, you can buy affordably and keep for future use or sell afterward.
The finishing phase gets skipped more than any other. People install the infill and call it done. Running a power broom across the surface for 20 minutes after infill application changes the entire look of the turf. Fibers stand up, infill settles evenly, and the surface suddenly looks like something a professional installed. That one step is where most DIY installs leave quality on the table.
My honest advice: if the groundwork feels beyond your comfort level, get a professional assessment before you start. Fixing a poorly compacted base after the turf is down costs far more than renting the right equipment upfront.
— Jake
A-to-zconstruction can support your landscaping upgrade
Turf installation often connects to larger outdoor projects, and that is where professional support makes a real difference. A-to-zconstruction handles the structural and hardscape work that sets the stage for a successful turf install, from grading and earthwork to retaining walls and masonry borders that frame your new lawn.

If your project involves complex groundwork, drainage challenges, or hardscape elements like patios and borders, A-to-zconstruction's structural remodeling services cover the full scope. With over 500 completed projects across Cedar City and surrounding Utah communities, the team brings the coordination and expertise to handle every phase without the delays that come from juggling multiple contractors. Request a free estimate and get a clear plan before you buy a single tool.
FAQ
What are the most important artificial turf installation tools for a DIY project?
A plate compactor, hook-blade utility knife, seam roller, heat gun, and power broom cover the five most critical phases of a DIY turf install. Renting the plate compactor and power broom is the most cost-effective approach for a one-time residential project.
Can I install artificial turf without renting a plate compactor?
Hand tamping does not achieve the compaction density needed for a stable sub-base, and skipping the plate compactor is the most common cause of turf shifting and failure. Renting one for around $200 per day is the correct approach for any area larger than a small patch.
How do I prevent visible seams in my artificial turf installation?
Use a hook-blade utility knife with a clamped aluminum guide for clean cuts, apply seam tape with a heat gun, and press the joint firmly with a seam roller. Consistent pressure along the full seam length is what creates an invisible joint.
What infill tools do I need for artificial turf?
A drop spreader or broadcast spreader distributes infill across the surface, and a power broom agitates the material down between fibers while lifting the pile upright. This two-step process produces a natural-looking, even finish.
How much do artificial turf installation supplies cost for a DIY project?
Rental costs for major equipment run around $200 per day for a plate compactor and $80 per day for a sod cutter. Purchased supplies like hook-blade knives ($15–$35), seam rollers ($25–$60), and stiff poly brooms ($20–$45) are affordable to own and reuse.